BotOps
Table of Contents
Overview
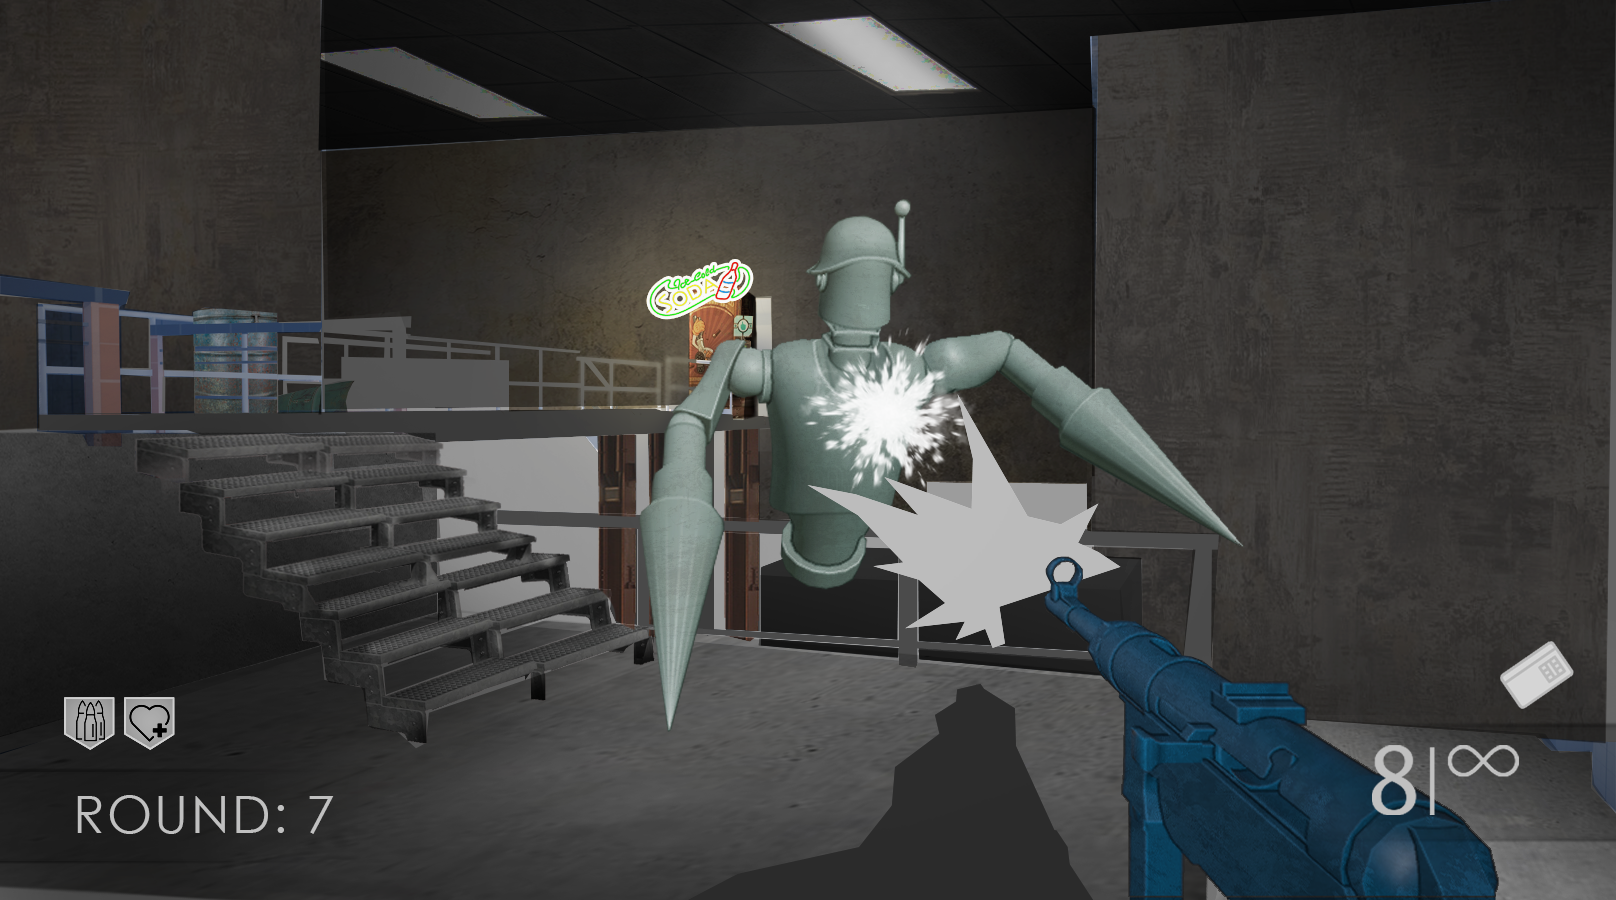
A Call Of Duty Zombies-inspired Robot shooter, where I was primarily responsible for the Enemy Wave System and Player Progression, as well as animation-handling and gunplay, as well as a Sub-Level system allowing our leveldesigners to stitch together multiple scenes.
Enemy Wave System
Our enemy manager consists of four major parts, the EnemyController which runs on a behaviour tree, an EnemySpawner which sole responsibility is to instaniate and initialize enemies with the correct stats of a wave, which is the third component. A wave holds data which can be tuned from a visual scripting implementation we have, to allow level designers to change health, speed, and spawn frequency as well as number per wave, and lastly the manager itself, which handles all these components to string them together into a cohesive system.
As I’ve mentioned in other posts, I love states. I think they’re extremely clean and you never have to wonder “where” you are in the code when debugging. Knowing which state you are in, or even which state you’re supposed to be in, makes things easier.
It’s a singleton, so it lives across all instances of our game. We only have one level, so it made sense to make it into a singleton. You can access it easily to get important information such as current waves, or remaining enemies. The manager itself handles mostly everything else, otherwise. The first thing we do is to select a wave.
void EnemyManager::AddWave(const WaveConfiguration& aWaveConfiguration)
{
    myWaves.push_back(std::make_unique<EnemyWave>(aWaveConfiguration));
}
And that’s it! This function is called in Nodes from our visual scripting implementation that I only worked partly on, but all it really does is read all the data that a WaveConfiguration holds and construct a new EnemyWave from it, before storing it into the manager. This all happens when we first start the game, but we can add waves wheneves we want just as easily. The LD’s use their scripting to decide how many waves they want, and then at which wave we should change the configuration. So you can easily select that you want 12 waves, and use the same configuration for every one. All the configuration really does is “Update” the waves rules.
Show Enemy Wave
struct WaveConfiguration
{
    int waveNumber              = 1;
    int enemyCount              = 1;
    float spawnFrequencySeconds = 1.0f;
    float enemyHealthMultiplier = 1.0f;
    float enemySpeedMultiplier  = 1.0f;
    bool isInfiniteWave         = false;
};

class EnemyWave
{
public:
    EnemyWave();
    EnemyWave(const WaveConfiguration& configuration);

    void SetWaveConfiguration(WaveConfiguration aWaveConfig);
    const WaveConfiguration GetWaveConfig() const { return myConfiguration; }

    void IncrementSpawnedCount(int count = 1);
    void DecrementRemainingCount(int count = 1);
    void DecrementSpawnedCount(int count = 1);

    //getters for waveConfig
    int GetWaveNumber() const { return myConfiguration.waveNumber; }
    int GetEnemyCount() const { return myConfiguration.enemyCount; }
    bool GetIsInfiniteWave() const { return myConfiguration.isInfiniteWave; }

    int GetRemainingEnemyCount() const { return myRemainingEnemyCount; }
    int GetSpawnedEnemyCount() const { return mySpawnedEnemyCount; }
    float GetTimeSinceLastSpawn() const { return myTimeSinceLastSpawn; }
    bool GetIsComplete() const { return myRemainingEnemyCount <= 0; }

    void ResetSpawnTimer() { myTimeSinceLastSpawn = 0.0f; }
    void UpdateSpawnTimer(float deltaTime) { myTimeSinceLastSpawn += deltaTime; }

    bool ShouldSpawn() const;
private:
    WaveConfiguration myConfiguration;
    int myTotalEnemyCount               = 0;
    int myRemainingEnemyCount           = 0;

    int mySpawnedEnemyCount             = 0;
    float myTimeSinceLastSpawn          = 0.0f;
};
Now that we have our waves constructed, we can start using them in the manager. We start simple with guard statements and intermission time since it’s important to leave enough time for the player to explore the level between waves, or use any keycards they might have acquired to go get an upgrade. After that, we simply check wether or not we are eligable for a spawn. It’s decided by the waves internal timer, and should an enemy be spawned, we start sorting through our active spawnpoints.
Show Enemy Manager Update
const void EnemyManager::Update(float deltaTime)
{
    if (myWavesState == WaveState::Paused || myCurrentWaveIndex < 0 || myCurrentWaveIndex == static_cast<int>(myWaves.size()))
    {
         return;
    }

    if (myWavesState == WaveState::Intermission)
    {
        myCurrentIntermissionTime -= deltaTime;
        if (myCurrentIntermissionTime <= 0)
        {
            myCurrentIntermissionTime = myIntermissionTime;
            StartNextWave();
            myWavesState = WaveState::Active;
        }
        else
        {
            return;
        }
    }

    if (myCurrentWaveIndex == static_cast<int>(myWaves.size())) return;

    EnemyWave* currentWave = myWaves[myCurrentWaveIndex].get();
    currentWave->UpdateSpawnTimer(deltaTime);

    if (currentWave->ShouldSpawn() && !myActiveSpawnPoints.empty())
    {
        SpawnEnemyAtRandomPoint();
        currentWave->IncrementSpawnedCount();
        currentWave->ResetSpawnTimer();
    }

    if (!myEnemiesPendingRemoval.empty())
    {
        ProcessPendingRemovals();
    }
}
Through triggerboxes placed in the level, the Enemy Spawners that our LD’s have placed will be set as active. The Manager will then pick between these spawners at random to instaniate an enemy, based on the current waves ruleset. Out of all the active points, it will simply spawn an enemy on a random one, so you can never really anticipate where the enemies will come from since multiple points will always be active by design.
Now the manager deals with slapping on all the extra stats and rulesets to the enemies base-states that the LD’s have set on the game object, and then we have an enemy in our game. We’ve already incriment the amount of enemies, and we check that we can’t spawn too many. By the time that the last enemy dies, we enter the intermission state and wait for the next wave to begin.
Sub-Level Loading and NavMesh Sitching
Since we only have one level in this game, and three level designers, we needed a way for them to work on one coherent map while still not fighting in the same file. In engines like Unity you’d just have them all working in prefabs in a single scene, but we don’t have that type of system in our game. We have our Scene files, and they link to folders containing all our GameObjects. I created anchor points that they could place in a Hub level, which would then find the corresponding file and load in that folder along with the offset of where anchorpoint was closed. Of course there was a stitching point in the other scene as well, so you could place them both just about anywhere and the objects would seamlessly load in at start.
Show Level Stitching
void LevelHandler::LoadAndStitchSubLevel(Level& aLevel, const std::string& aSubLevelName, GameObject* aAnchorSnapPoint)
{
    Level subLevel;
    BuildLevel(aSubLevelName, subLevel);

    GameObject* referenceSnapPoint = FindSnapPointInLevel(subLevel, aSubLevelName, true);

    if (!referenceSnapPoint)
    {
        std::cout << "Failed to find reference snappoint in sublevel: " << aSubLevelName << "\n";
        return;
    }

    Tga::Vector3f offset = aAnchorSnapPoint->AccessTransform().GetPosition() - referenceSnapPoint->AccessTransform().GetPosition();

    unsigned int nextObjectId = static_cast<unsigned int>(aLevel.GetObjects().size()) + 1;

    // Apply transform offset and update ID's
    for (auto& subLevelGameObject : subLevel.GetObjects())
    {
        if (subLevelGameObject->AccessFirstComponentOfType<PlayerController>() || subLevelGameObject->AccessFirstComponentOfType<CameraComponent>()) continue;

        Tga::Matrix4x4f transformedTransform = subLevelGameObject->AccessTransform();
        transformedTransform.SetPosition(transformedTransform.GetPosition() + offset);
        subLevelGameObject->SetTransform(transformedTransform);

        for (auto model : subLevelGameObject->AccessAnimatedModelComponents())
        {
            model->AccessModel().SetTransform(transformedTransform);
        }

        subLevelGameObject->SetObjectID(nextObjectId++);
        aLevel.GetObjects().push_back(subLevelGameObject);
    }

    for (auto& pointLight : subLevel.myPointLightComponents)
    {
        aLevel.myPointLightComponents.push_back(pointLight);
    }

    for (auto& spotLight : subLevel.mySpotLightComponents)
    {
        aLevel.mySpotLightComponents.push_back(spotLight);
    }

    std::filesystem::path path = Tga::Settings::GameAssetRoot();
    path /= "levels\\navmeshes";
    std::filesystem::path localPath = aSubLevelName;
    localPath.replace_extension("");
    path /= localPath.filename();
    path += "_navmesh.obj";

    myActiveLevel->GetNavmesh().LoadAdditionalMesh(path.string().c_str(), offset, referenceSnapPoint->AccessTransform().GetPosition());

    std::cout << "Successfully loaded and stitched sublevel: " << aSubLevelName << "\n";
}
I’ll be honest, I’m not super proud of the way this one was implemented, mostly because the way our light components are treated are somewhat different from the other game objects and components. The nice thing is that it’s mostly handled exactly as loading in any other level, and this function could potentially be multi-threaded to eventually allow for seamless loading in and loading out of segments of a single level, much how Unreal’s sublevel system works. I’m hoping for our final project I’ll get to continue working on this to make that a reality. How cool wouldn’t it be to have a game without loading screens? These projects are small enough that we could totally be able to do it with a little bit of clever designing of the levels.
One problem still remained, however: all these levels have different NavMeshes, and we didn’t want to generate one big navmesh everytime we started the level, that would be too expensive. So instead I created a function to stich together the closest NavMesh points to create a coherent one, without gaps so the AI could seamlessly traverse it.
Show Navmesh Welding
void rhe::Navmesh::CalculateCrossMeshConnections()
{
    if (myMeshRegions.size() < 2) return;

    constexpr float maxMidpointDistance = 500.0f;
    constexpr float maxMidpointDistanceSq = maxMidpointDistance * maxMidpointDistance;
    constexpr float maxVerticalDifference = 100.0f;

    for (size_t regionAIndex = 0; regionAIndex < myMeshRegions.size(); ++regionAIndex)
    {
        for (size_t regionBIndex = regionAIndex + 1; regionBIndex < myMeshRegions.size(); ++regionBIndex)
        {
            const MeshRegion& regionA = myMeshRegions[regionAIndex];
            const MeshRegion& regionB = myMeshRegions[regionBIndex];

            if (regionA.sourceFile == regionB.sourceFile) continue;

            std::vector<BoundaryEdge> edgesA = CollectBoundaryEdges(regionA);
            std::vector<BoundaryEdge> edgesB = CollectBoundaryEdges(regionB);

            if (edgesA.empty() || edgesB.empty()) continue;

            float bestDistance = maxMidpointDistanceSq;
            int bestAIndex = -1;
            int bestBIndex = -1;

            for (size_t aIndex = 0; aIndex < edgesA.size(); ++aIndex)
            {
                for (size_t bIndex = 0; bIndex < edgesB.size(); ++bIndex)
                {
                    const BoundaryEdge& edgeA = edgesA[aIndex];
                    const BoundaryEdge& edgeB = edgesB[bIndex];

                    const float dy = std::abs(edgeA.mid.y - edgeB.mid.y);
                    if (dy > maxVerticalDifference) continue;

                    const float dx = edgeA.mid.x - edgeB.mid.x;
                    const float dz = edgeA.mid.z - edgeB.mid.z;
                    const float distSq = dx*dx + dz*dz;

                    if (distSq < bestDistance)
                    {
                        bestDistance = distSq;
                        bestAIndex = static_cast<int>(aIndex);
                        bestBIndex = static_cast<int>(bIndex);
                    }
                }
            }

            if (bestAIndex != -1 && bestBIndex != -1)
            {
                AppendBridgeBetweenEdges(edgesA[bestAIndex], edgesB[bestBIndex]);
            }
        }
    }

    CreateNodes();
    CalculateConnections();
}
This one has a couple of magic numbers which isn’t supert neat, but once the closest boundary edges between two navmesh regions were identified, I generated a small bridge of geometry between them. This effectively “welds” the two previously separate meshes into a single continuous surface. After modifying the mesh, I rebuilt the navigation data by generating nodes from the updated geometry and recalculating adjacency between them. This ensures that the AI can traverse seamlessly across the stitched regions, as the pathfinding system now sees them as a single connected graph rather than isolated meshes.
The biggest thing I’m missing from this is implementing the navmesh regions that I have generated into the AI’s behaviour. They’re already there, but right now our enemies are sampling the entire Navmesh, and while it’s not super large, it would be impossible to scale this without seeing significant reduction of performance. Ultimately for this small 10-mintue experience it works due to our distance culling of the enemies. They will never sample enough nodes to cause performance issues because if they are too far away, they will be removed and added back into the enemy pool for the wave.